
KEY TAKEAWAYS
- Design from merchandise targets back to the ceiling
- Calculate beam diameter at the actual distance
- Use aiming angles that limit direct glare
- Create deliberate but comfortable contrast
- Complete final aiming after merchandising
01Define the Visual Task
List the merchandise walls, display tables, mannequins, signs and circulation zones before laying out tracks. Each luminaire should have a clear target.
Design from the merchandise back to the ceiling instead of distributing fixtures uniformly.
02Estimate Spacing from Beam Spread
Beam diameter depends on distance and beam angle. Narrow beams work for small highlights, while medium distributions are more forgiving for walls and racks.
Overlap adjacent beams where continuous vertical illumination is required.
Practical Design Checklist
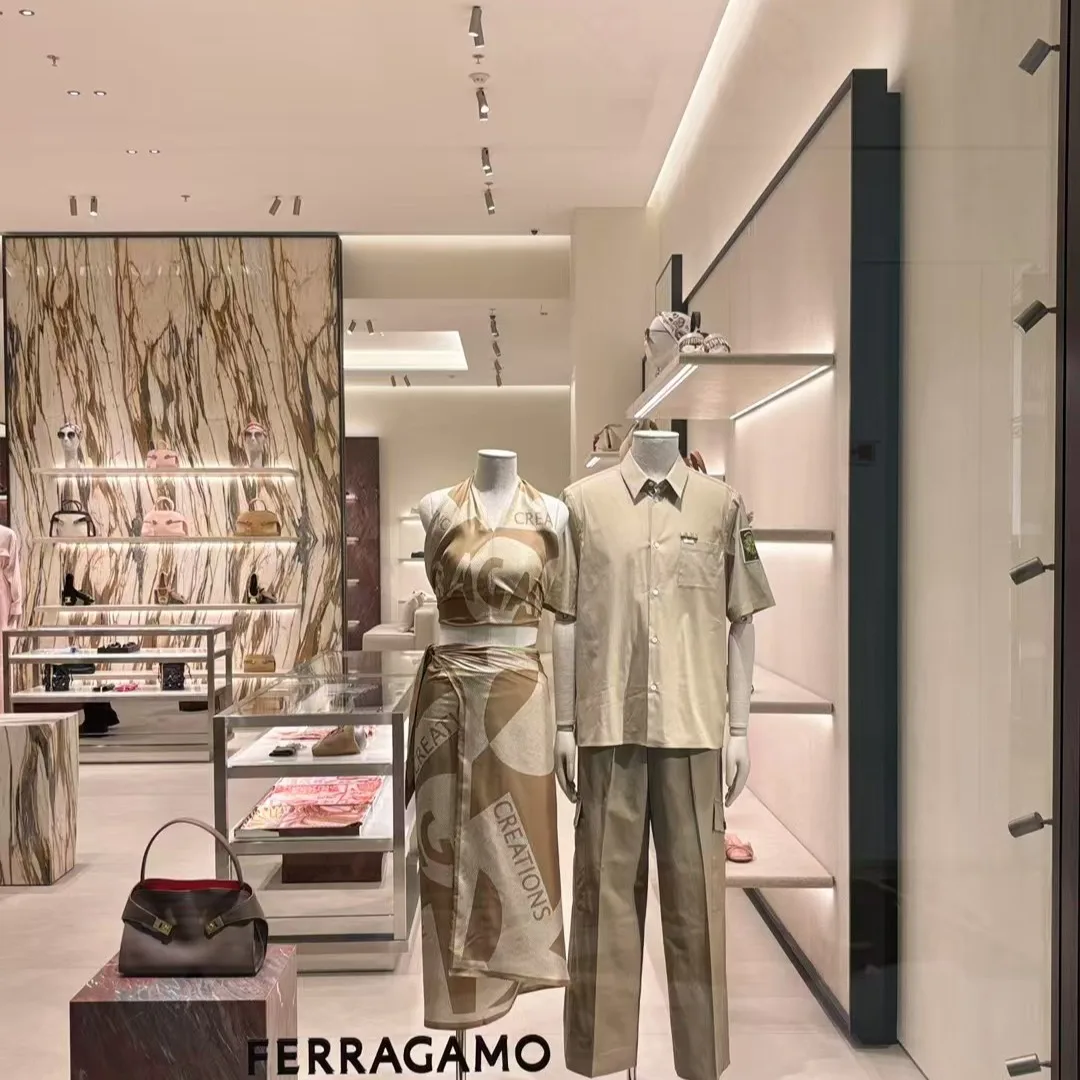
01 Estimate Spacing from Beam Spread
Beam diameter depends on distance and beam angle. Narrow beams work for small highlights, while medium distributions are more forgiving for walls and racks.
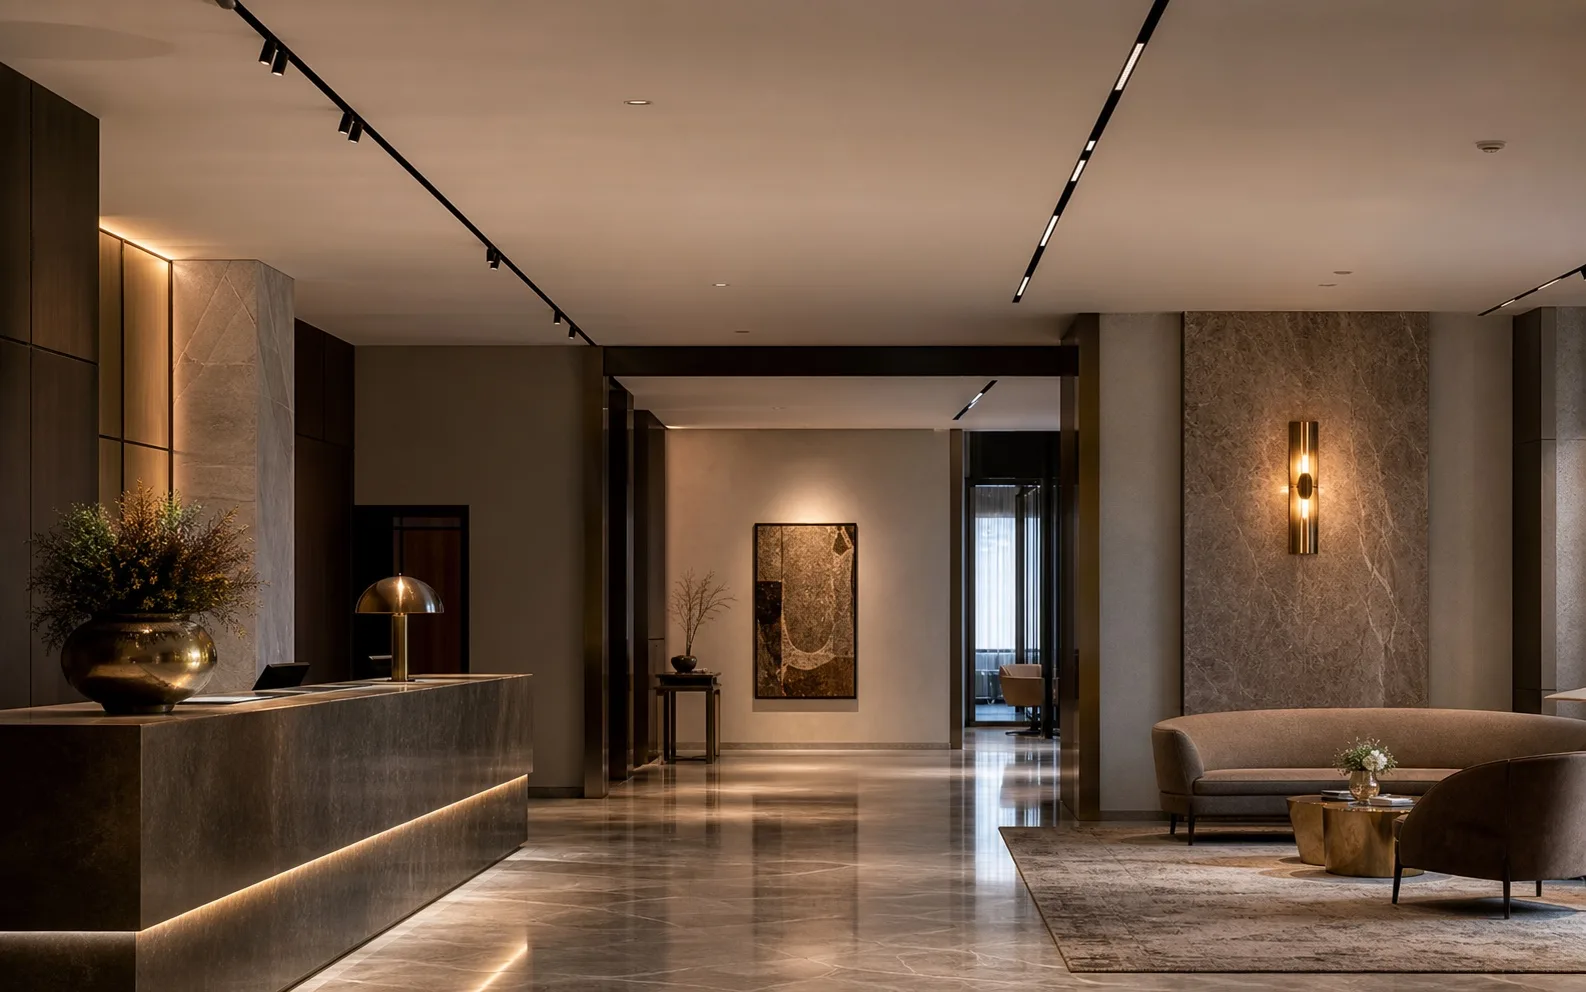
02 Choose an Aiming Angle
Aiming around 30 degrees from vertical is a useful starting point for many retail displays because it creates modelling while reducing direct glare.
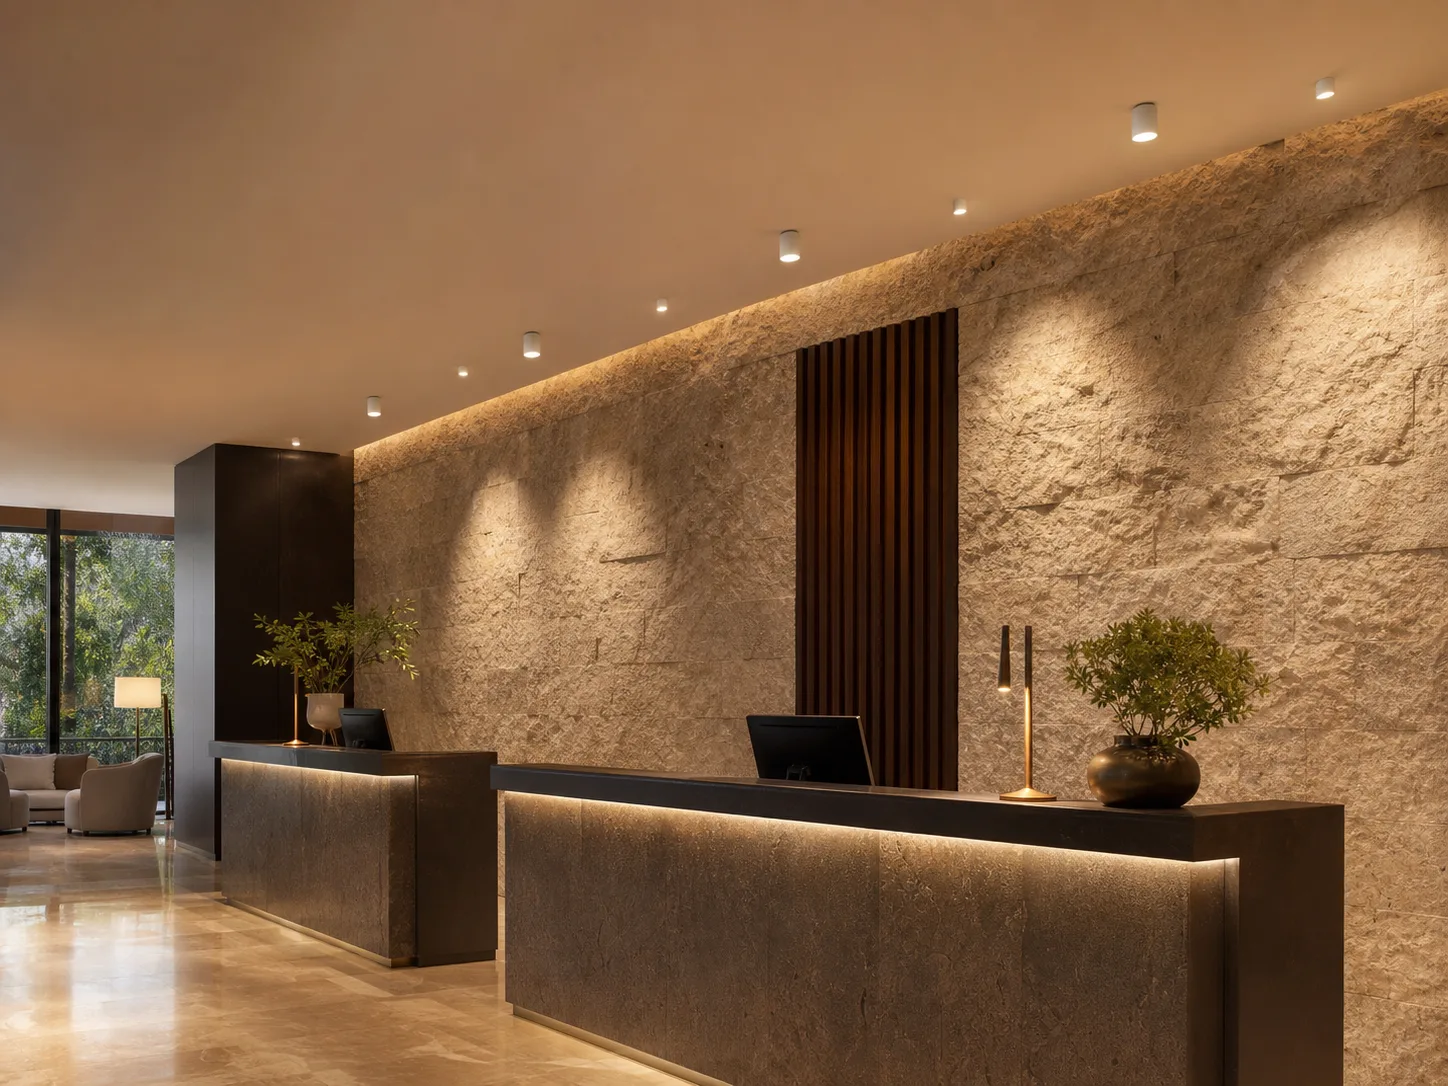
03 Build Contrast Intentionally
Accent-to-ambient ratios create hierarchy. Premium displays may need stronger contrast than general merchandise areas, but extreme ratios can cause visual fatigue.
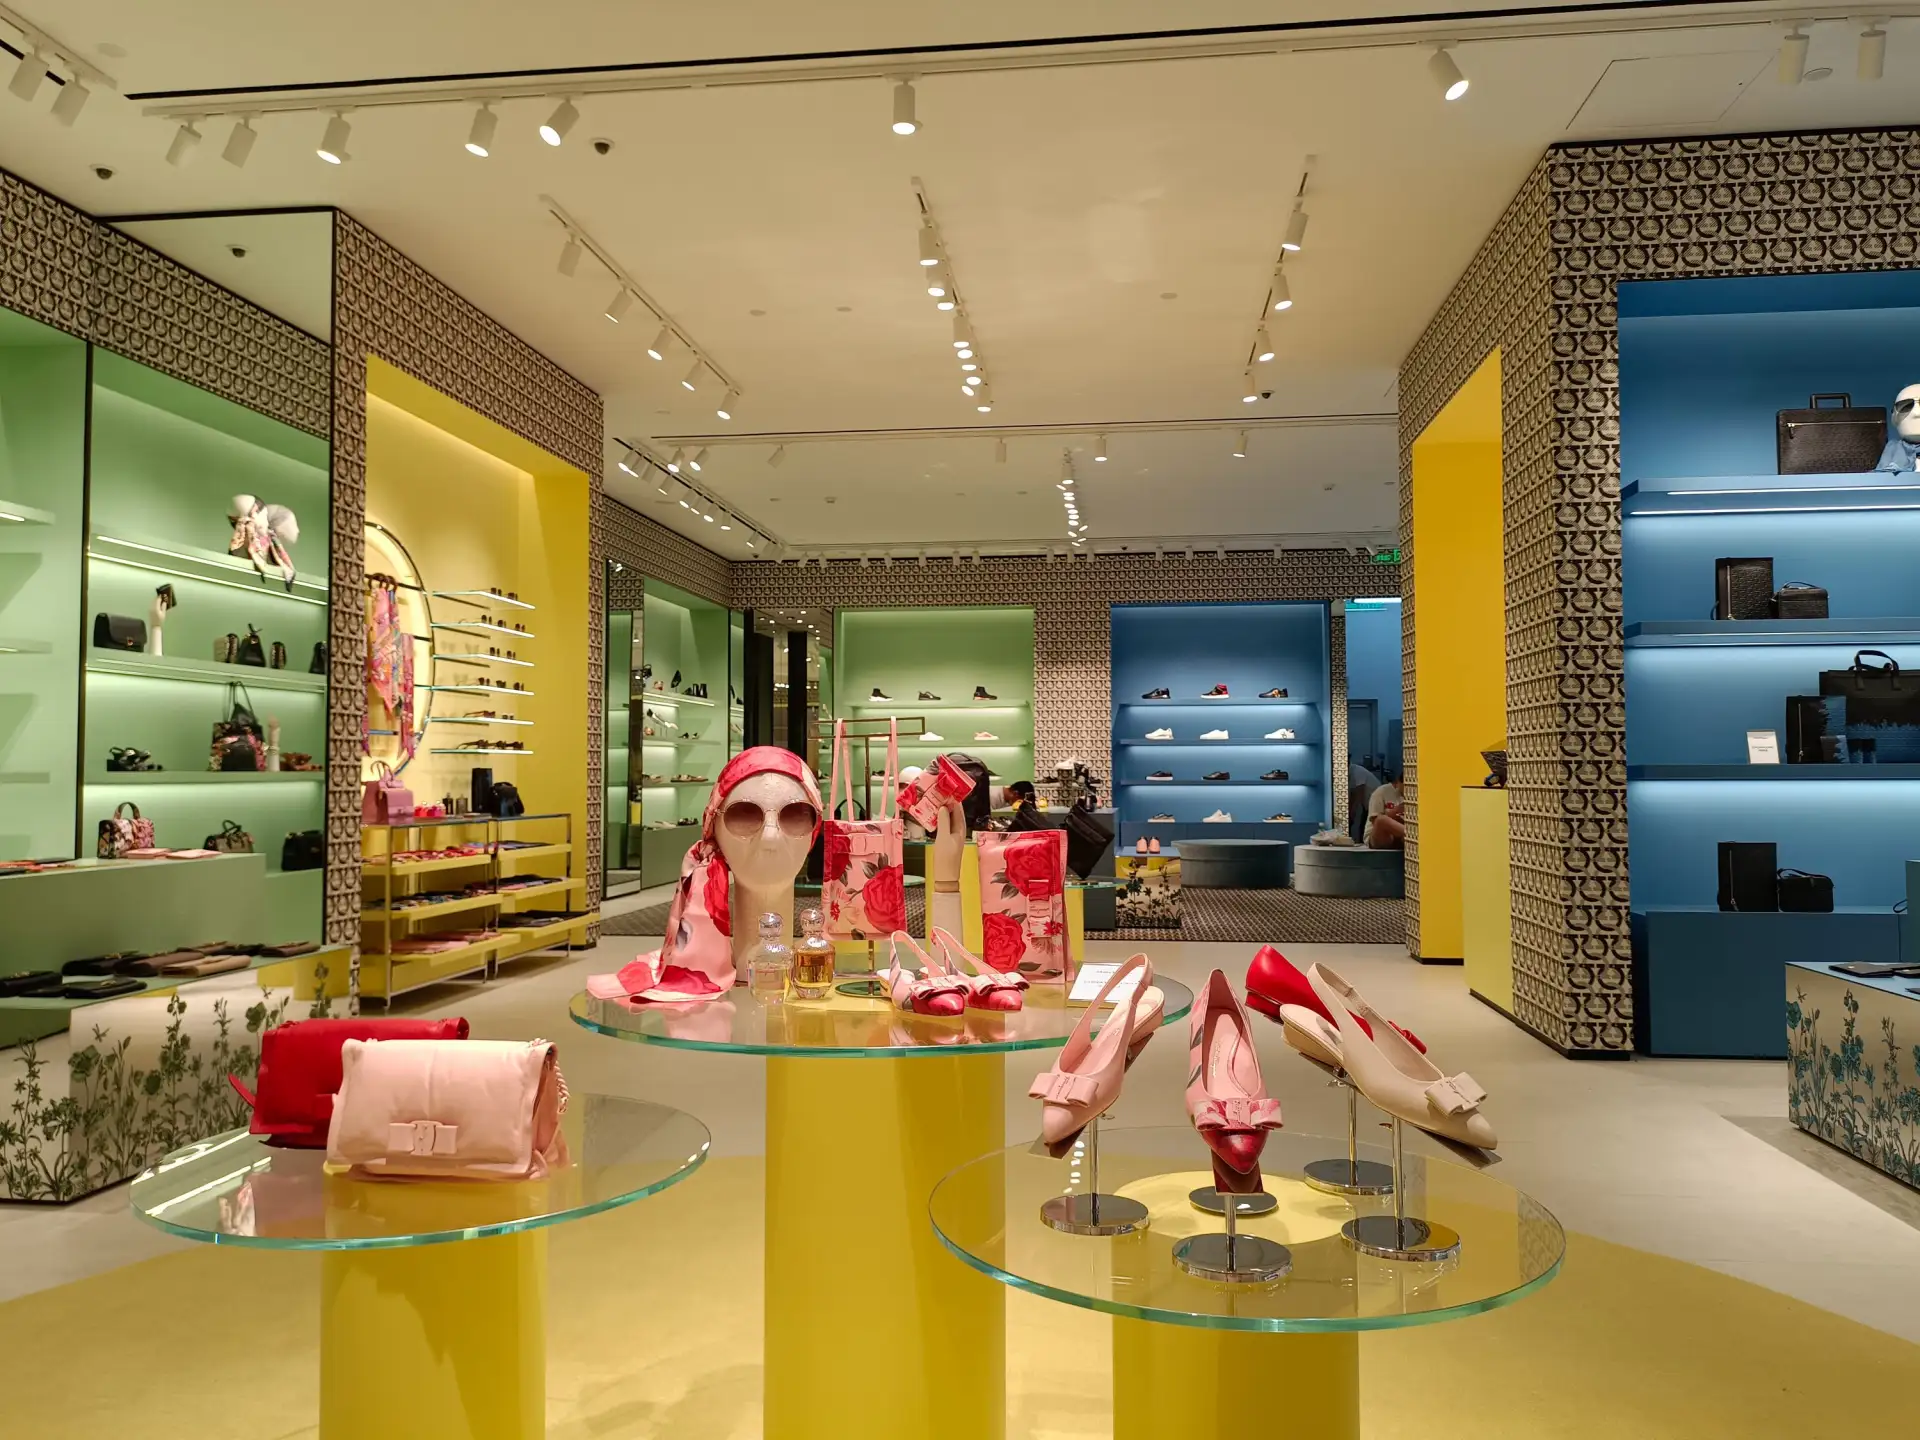
04 Commission on Site
Final aiming should happen after merchandising is complete. Use a lux meter, check reflections and record positions.
03Choose an Aiming Angle
Aiming around 30 degrees from vertical is a useful starting point for many retail displays because it creates modelling while reducing direct glare.
Adjust the angle for target height, track position and shopper sightlines.
04Build Contrast Intentionally
Accent-to-ambient ratios create hierarchy. Premium displays may need stronger contrast than general merchandise areas, but extreme ratios can cause visual fatigue.
Balance focal light with sufficient ambient and vertical illumination.
Specification Review Matrix
| Design Question | What to Verify | Why It Matters |
|---|---|---|
| Performance | Design from merchandise targets back to the ceiling | Use aiming angles that limit direct glare |
| Application | Calculate beam diameter at the actual distance | Create deliberate but comfortable contrast |
| Maintenance | Use aiming angles that limit direct glare | Complete final aiming after merchandising |
05Commission on Site
Final aiming should happen after merchandising is complete. Use a lux meter, check reflections and record positions.
Re-aim when seasonal displays change and keep spare optical accessories for future layouts.